
Fabric Iron Patches: Complete Guide to Repairs and Style
Denim Patches, Embroidered Designs, and Professional Repair Kits for Clothing
Fabric iron patches transform damaged garments into functional pieces while offering creative customization opportunities that extend clothing life. These heat-activated adhesive patches repair holes, reinforce worn areas, and add decorative elements to jeans, jackets, backpacks, and children’s clothing without requiring sewing skills.
Understanding proper application techniques and selecting appropriate patch types ensures repairs that withstand washing and wear for years. Whether covering knee holes in favorite jeans or personalizing a denim jacket with embroidered designs, iron patches provide accessible solutions for both practical repairs and style expression.
Understanding Iron-On Patch Technology
Iron patches feature heat-activated thermoplastic adhesive backing that melts when exposed to high temperatures, bonding securely to fabric fibers. This adhesive flows into the textile’s microscopic spaces during heating, then solidifies upon cooling to create mechanical bonds that resist pulling and washing stress.
Adhesive Types and Bonding
Quality patches use specially formulated adhesives that maintain flexibility after cooling, preventing uncomfortable stiffness against skin. Premium thermoplastic resins accommodate fabric movement and repeated washing cycles better than cheaper alternatives that become brittle over time.
The bond strength depends on application temperature, pressure duration, and fabric type compatibility. Natural fibers like cotton allow deeper adhesive penetration than synthetic materials, resulting in stronger, longer-lasting attachments that survive frequent laundering.
Patch Construction Varieties
Embroidered patches feature raised threadwork creating dimensional designs popular for decorative applications and personal expression. These structured patches add texture and visual interest while the backing adhesive ensures secure attachment to base garments.
Denim repair patches typically use heavy cotton twill matching jean fabric weight and structure. These practical patches blend naturally with denim garments while providing reinforcement that moves with the original material during wear.
Selecting the Right Patch Type
Choosing appropriate patches requires considering project purpose, garment fabric, and expected wear conditions. Understanding these factors prevents purchasing incompatible products that fail prematurely or create uncomfortable stiff spots.
Repair vs Decorative Patches
Repair patches prioritize durability and fabric compatibility over appearance, using sturdy materials designed to withstand stress at damage sites. These functional patches work best when slightly larger than the damaged area, extending at least half an inch beyond holes or tears.
Decorative patches emphasize visual appeal through embroidered designs, printed graphics, or unique shapes serving as fashion statements. While these patches still provide functional coverage, their primary purpose involves personal expression and style customization on clothing and accessories.
Fabric Weight Considerations
Lightweight patches suit delicate fabrics and decorative applications where minimal stiffness matters most. These thin patches conform easily to curved surfaces and remain comfortable against skin without restricting garment drape or movement.
Heavy-duty patches handle thick materials like denim, canvas, and outdoor fabric, providing robust reinforcement for high-stress areas. These substantial patches resist tearing better than lighter alternatives, making them ideal for work clothes and frequently-washed items requiring maximum durability.
Size and Shape Selection
Standard rectangular patches offer versatility for most repair situations, providing adequate coverage for common holes and worn spots. Their straight edges simplify positioning and ensure consistent heat application across the entire surface during attachment.
Oval or rounded patches work better on curved body areas like knees and elbows where fabric experiences constant flexing. These shapes eliminate sharp corners where peeling typically begins, distributing stress more evenly across the patch perimeter for longer-lasting repairs.
Iron-On Denim Repair Patch Kit
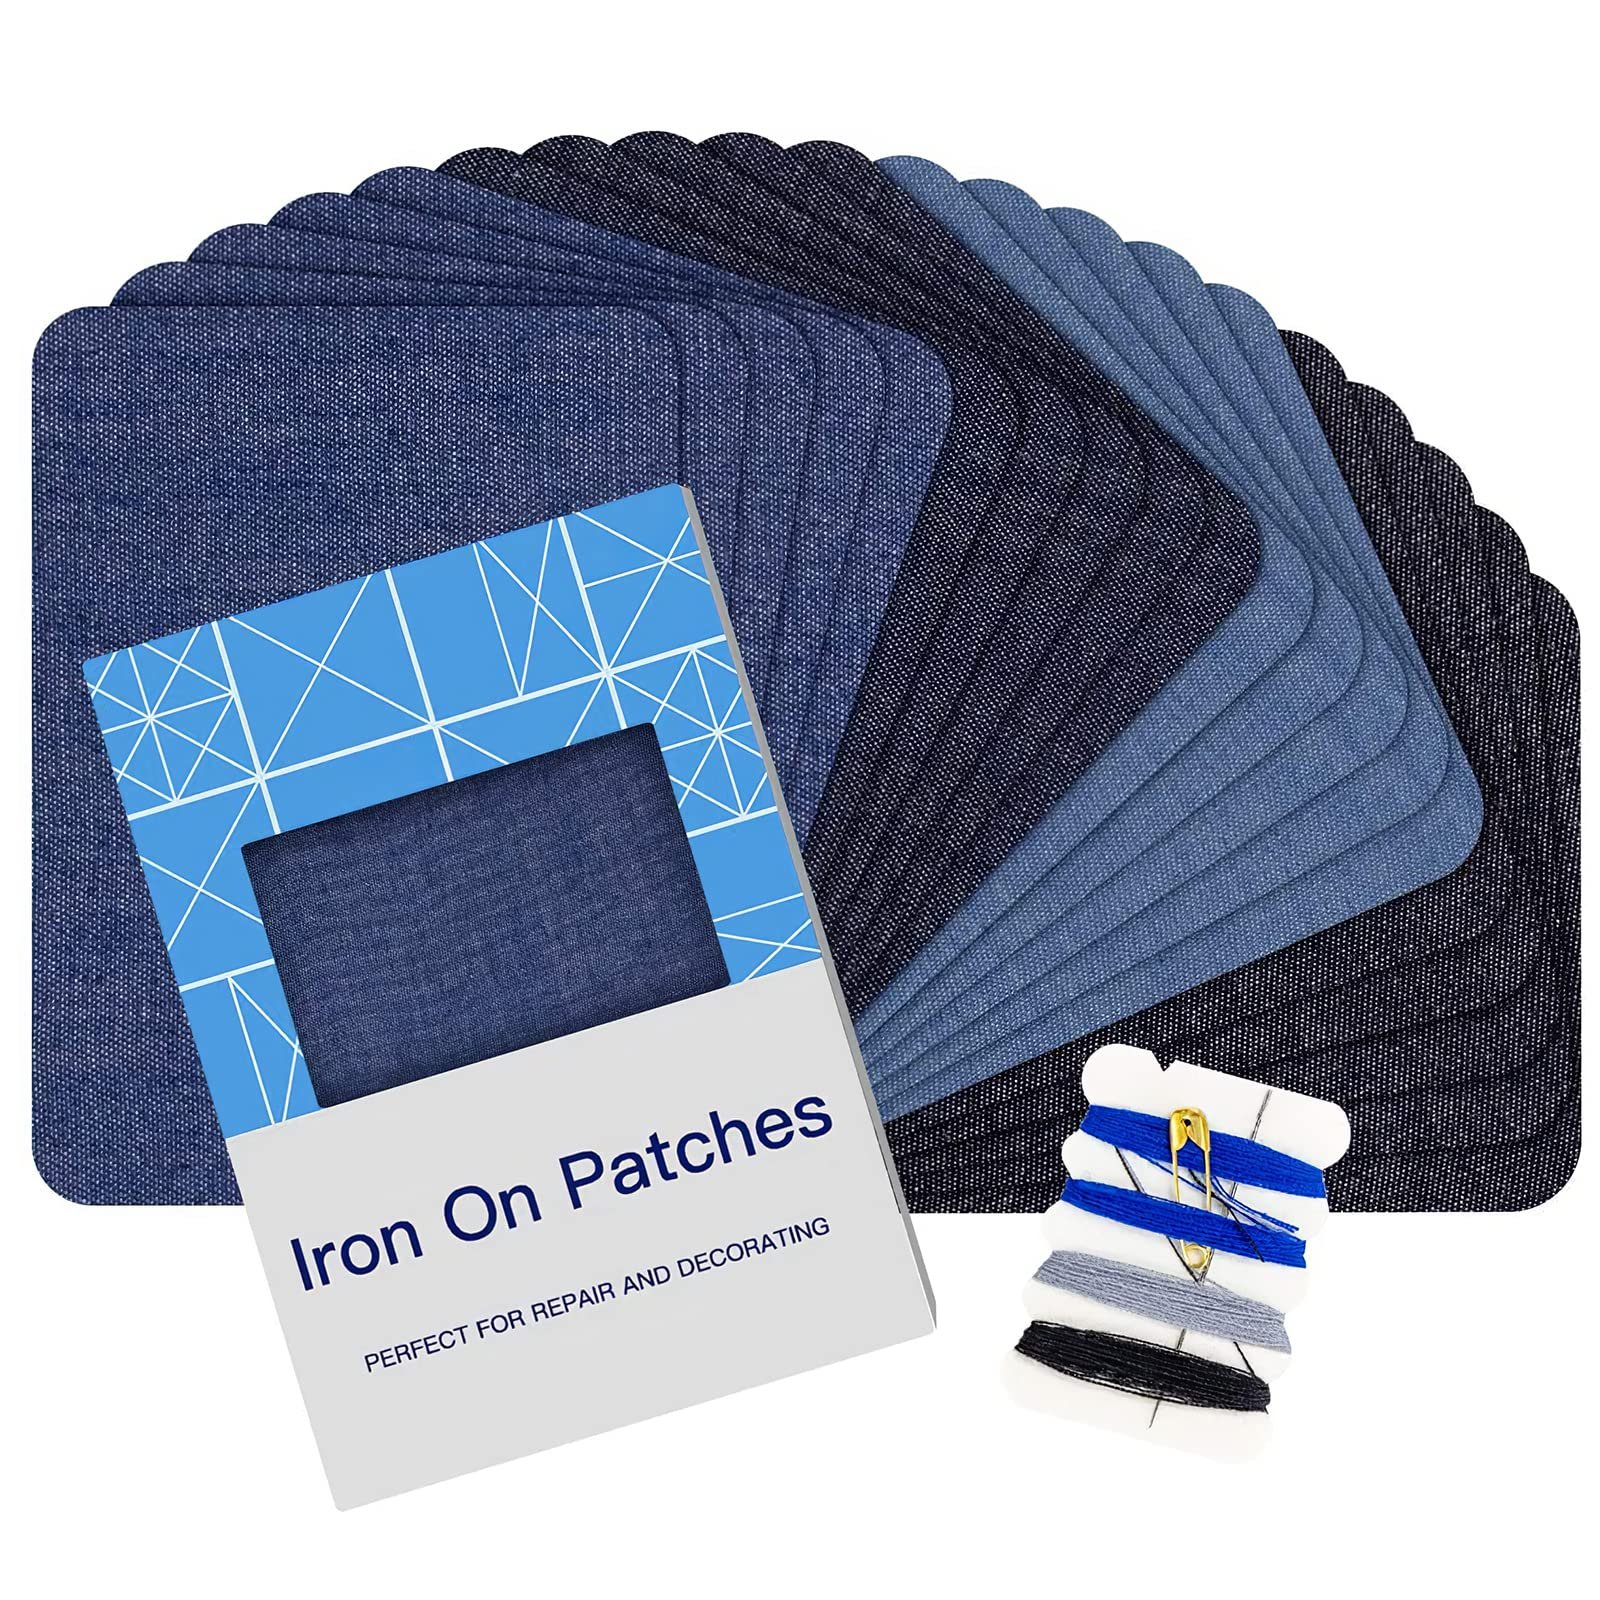
Professional-grade denim repair kit featuring 12 iron-on patches in multiple blue shades sized 3 by 4.25 inches, perfect for fixing holes in jeans and denim jackets with invisible repairs. The patches use 100% cotton front surfaces with strongest hot-melt adhesive backing, ensuring secure bonds that survive frequent washing and daily wear. These versatile patches accommodate both inside and outside applications, allowing strategic placement that either conceals damage completely or creates visible decorative reinforcement depending on personal preference.
- 12 patches per kit
- Four different blue shades
- 3″ x 4.25″ (7.5cm x 10.5cm) size
- 100% cotton construction
- Strongest adhesive backing
- Inside or outside application
- Machine washable
- EU-manufactured quality
Proper Application Techniques
Achieving professional repair results requires attention to preparation, positioning, and heat application details. Following proper procedures ensures patches bond securely and remain attached through years of use.
Surface Preparation Steps
Wash and completely dry garments before applying patches, removing any dirt, oils, or moisture that interfere with adhesive bonding. Pre-washed fabric also ensures you’re working with fully-shrunk material, preventing distortion from post-application laundering.
Position items on hard, heat-resistant surfaces like wooden cutting boards covered with thin cotton rather than padded ironing boards. These firm surfaces allow proper pressure transfer during heat application, creating stronger bonds than soft surfaces that absorb pressing force.
Heat Application Method
Set irons to appropriate temperature for base fabric, typically cotton or linen settings for most applications. Place protective cloth over patches before applying heat, preventing direct iron contact that might damage patch surfaces or leave marks.
Apply firm, even pressure while moving the iron in small circles for 15-30 seconds, ensuring entire patch receives adequate heat. Work across larger patches in sections rather than trying to heat the entire surface simultaneously, which often results in uneven adhesive activation.
Allow patches to cool completely before moving or handling garments, giving adhesive time to solidify properly. This cooling period proves critical for bond formation, as premature movement can weaken or misalign the still-soft adhesive layer.
Reinforcement Options
Add strategic stitches around patch edges after adhesive application for maximum security, especially on children’s clothing or heavily-used items. Even minimal hand-stitching combined with heat-bonded adhesive creates hybrid attachments more durable than either method alone.
Consider using fabric adhesive supplements for problematic fabrics or high-stress locations. Apply thin adhesive layers to both patch and garment, allowing slight tackiness before pressing together and adding heat for dual-bonding systems.
Fabric Compatibility Guide
Natural fiber fabrics accept iron patches most successfully, as their porous structures allow adhesive penetration and secure bonding. Synthetic materials present challenges requiring special considerations for reliable attachment.
Natural Fiber Applications
Cotton, linen, and wool readily accept patch adhesives, making them ideal candidates for iron-on repairs. These absorbent fibers grip adhesive effectively, creating strong mechanical bonds that withstand washing and wear stress over extended periods.
Denim works exceptionally well with iron patches due to its cotton composition and sturdy twill weave structure. This explains why jean repairs represent the most common iron patch application, with results often lasting as long as the surrounding unpatched fabric.
Synthetic Material Challenges
Polyester, nylon, and acrylic feature smooth, non-absorbent fibers that resist adhesive penetration and may melt at temperatures required for proper bonding. These materials require lower heat settings and longer application times, sometimes yielding less secure attachments than natural fiber alternatives.
Fabric blends containing mostly synthetic fibers demand careful temperature monitoring to prevent material damage while achieving adequate adhesive activation. Test patches on inconspicuous areas first, determining optimal heat and pressure combinations for specific blend compositions.
Special Material Considerations
Waterproof and water-resistant fabrics actively repel adhesives by design, making standard iron patches largely ineffective. These materials typically require specialized cold-application patches using different bonding technologies specifically formulated for non-porous surfaces.
Stretch fabrics put constant stress on patch bonds through repeated expansion and contraction cycles. Select patches containing elastane or similar stretchy fibers that accommodate movement without pulling away at edges, particularly important for activewear and stretch denim repairs.
Pro Tip: Always test patch application on garment scraps or inconspicuous areas first to verify temperature compatibility and adhesive performance. This simple step prevents visible failures on important clothing items and helps you refine technique before committing to final repairs.
Maximizing Patch Longevity
Proper care extends iron patch life significantly, ensuring repairs remain secure through numerous wash and wear cycles. Understanding maintenance requirements helps patches perform as intended for years rather than months.
Washing Best Practices
Turn patched garments inside out before washing, reducing direct abrasion on patch edges during machine agitation. This simple habit dramatically decreases edge lifting that eventually leads to complete patch detachment.
Use cold or warm water rather than hot wash cycles, as excessive heat can soften adhesives over time. Gentle wash cycles with mild detergents further reduce stress on patch bonds, preserving attachment integrity through repeated laundering.
Air-dry patched items when possible, as tumbling dryer action and heat gradually weaken adhesive bonds. If machine drying becomes necessary, select lowest heat settings that adequately dry garments without subjecting patches to excessive thermal stress.
Storage and Handling
Avoid folding garments through patched areas, as repeated creasing along identical lines stresses bonds and may cause premature failure. Store items flat or rolled when possible, distributing any storage pressure across broader areas.
Periodically inspect patches for early lifting signs, reapplying heat promptly when edges begin separating. Early intervention with quick heat reactivation often prevents progressive detachment requiring complete patch replacement.
Reactivation Techniques
Refresh aging patches by applying heat through protective cloth, reactivating adhesive without direct patch contact. This maintenance procedure restores bond strength on patches showing minor edge lifting, extending useful life considerably.
For stubborn areas refusing to rebond with heat alone, carefully lift the patch edge and apply thin layers of fabric glue beneath before pressing flat and heating. This combination approach creates redundant bonding that exceeds original adhesive performance.
Creative Customization Projects
Iron patches enable endless customization possibilities beyond basic repairs, transforming ordinary garments into personalized fashion statements. These creative applications showcase patch versatility for style expression.
Decorative Jacket Designs
Build patch collections on denim jackets featuring favorite bands, travel destinations, or personal interests arranged artistically across back and sleeves. Layer patches strategically with varied sizes creating visual hierarchy that draws attention to focal designs while supporting elements fill surrounding space.
Create themed jackets for specific hobbies or affiliations using coordinated patch selections that tell cohesive stories. Whether showcasing outdoor adventures, musical tastes, or cultural connections, curated patch arrangements communicate identity without words.
Children’s Clothing Applications
Transform plain children’s items with character patches featuring popular figures that personalize basic garments. These decorative additions often make children more enthusiastic about wearing repaired items, as fun designs distract from any underlying damage.
Cover stains or small damages on kids’ clothes with strategic patch placement, extending wearability while adding playful elements. This practical approach combines repair functionality with child-appealing aesthetics that parents and children both appreciate.
Accessory Embellishments
Customize fabric bags and backpacks with patches reflecting personal style, creating unique accessories that stand out. Strategic placement near handles, across front panels, or scattered organically transforms mass-produced bags into individualized statements.
Apply patches to curtains, pillows, and other home textiles for coordinated decorative themes throughout living spaces. This technique refreshes existing items without replacement costs while maintaining design cohesion across rooms.
Addressing Common Problems
Understanding typical patch application issues and their solutions prevents frustration and ensures successful repairs. Most problems have straightforward fixes when identified promptly.
Preventing Edge Lifting
Patches pulling away at corners typically indicate insufficient heat application during initial attachment or inadequate fabric preparation. Ensure entire patch perimeter receives equal heating time, working methodically around edges rather than focusing only on centers.
High-stress locations require patches extending substantially beyond damaged areas, distributing forces across wider zones. Maintain minimum one-inch margins beyond damage on knees, elbows, and other flex points where movement constantly stresses attachments.
Fixing Adhesive Residue
Excess adhesive sometimes squeezes beyond patch edges during application, leaving sticky residue on surrounding fabric. Remove these marks with rubbing alcohol applied to cotton swabs, gently working away residue without spreading it further across garment surfaces.
For stubborn adhesive remnants after patch removal, use specialized adhesive removers designed for fabrics available at craft stores. Test these products on hidden areas first, ensuring they won’t damage or discolor base materials before applying to visible sections.
Correcting Misalignment
Patches applied slightly off-center or crooked can sometimes be repositioned if caught immediately while adhesive remains warm. Carefully lift the patch, reheat both surfaces, and reposition accurately before pressing firmly again.
For patches that have fully cooled in incorrect positions, complete removal and fresh application with new patches typically produces better results than attempting fixes. Use removal techniques described earlier, thoroughly clean the area, and start over with proper positioning methods.
Essential Patching Supplies
Having proper tools and materials readily available improves patch application results and makes the process more efficient. These essential items support successful repairs across various garment types.
Application Tools
Quality household irons with adjustable temperature settings provide the primary heat source for patch application. Models with steam capabilities offer versatility, though steam should typically be disabled during actual patch adhesion to prevent moisture interference.
Pressing cloths made from thin cotton protect both patches and irons from direct contact while allowing heat transfer. Keep several clean pressing cloths available, as accumulated adhesive residue on cloths reduces their protective effectiveness over time.
Hard work surfaces like wooden cutting boards create necessary resistance for proper pressure application. Cover these surfaces with additional cloth layers protecting wood finishes from heat damage while maintaining the firm base required for effective bonding.
Marking and Measuring
Fabric chalk or washable fabric pencil marks guide precise patch placement without leaving permanent traces. These temporary markings ensure accurate positioning before heat application commits patches to final locations.
Measuring tools including rulers and tape measures help determine appropriate patch sizes and spacing for multiple patch arrangements. Consistent measurements create professional-looking results particularly important when applying decorative patch collections.
Supplementary Materials
Keep fabric scissors handy for trimming patches to custom sizes or cutting reinforcement materials. Sharp scissors ensure clean edges that improve patch appearance and prevent fraying around perimeters.
Stock basic sewing supplies including needles and thread matching common fabric colors for optional reinforcement stitching. Even crafters primarily using iron-on methods benefit from occasional stitching that enhances critical repair durability.
Frequently Asked Questions
Quality iron-on patches properly applied and maintained typically last several years surviving numerous wash cycles. Longevity depends on patch quality, application technique, fabric type, and garment use patterns. High-stress areas like knees experience faster wear than decorative patches on jacket backs. Adding reinforcement stitches around patch edges significantly extends lifespan, often doubling durability compared to adhesive-only attachments.
Yes, iron-on patches withstand regular machine washing when applied correctly and cared for properly. Turn patched garments inside out before washing, use cold or warm water rather than hot, and select gentle cycles with mild detergents. Air-drying extends patch life considerably compared to machine drying, though low heat dryer settings work acceptably when necessary. Wait at least 24 hours after application before first washing to allow adhesive complete curing.
Iron-on patches work best on natural fibers including cotton, linen, and denim where adhesive penetrates effectively. Synthetic fabrics like polyester and nylon present challenges as they may melt at required temperatures or resist adhesive bonding. Waterproof fabrics actively repel adhesives making standard patches ineffective. Leather, vinyl, and heavily coated materials typically require specialized patches with cold-application adhesives rather than heat-activated types.
Remove patches by applying heat through a cloth to soften adhesive, then gently lifting edges with tweezers while continuing to apply warmth. Work slowly from edges toward center, reheating as needed to maintain adhesive pliability. After removal, address residue with rubbing alcohol or specialized fabric adhesive removers tested first on hidden areas. Complete removal often damages underlying fabric slightly, and removed patches cannot typically be reused effectively.
Never iron directly on patches without protective cloth barriers as direct heat damages patch surfaces and leaves residue on iron plates. Always place thin cotton pressing cloth between iron and patch distributing heat evenly while protecting both surfaces. This protective layer prevents scorching, melting, or adhesive transfer to irons that requires difficult cleaning. For patched garments needing ironing after application, work from the reverse side when possible.
Most iron-on patches require cotton or linen iron settings typically around 350-375°F for proper adhesive activation. However, always check patch packaging for specific temperature recommendations as requirements vary by adhesive type. Synthetic base fabrics may need lower temperatures preventing material damage while still activating adhesive. Test on inconspicuous areas first when uncertain, starting with lower temperatures and increasing as needed for secure bonding.
Yes, patches work excellently for covering holes though proper technique matters for lasting repairs. Patches should extend at least half an inch beyond hole edges providing adequate sound fabric for adhesive bonding. For larger holes or tears with ragged edges, trim loose threads first and consider applying patches to both garment sides creating sandwich reinforcement. Inside-applied patches offer invisible repairs while outside placement can create decorative design elements from necessary repairs.
Related Resources
- Fabric Adhesive – Additional bonding strength
- Fabric Glue – Alternative attachment
- Fabric Scissors – Precise cutting
- Fabric Chalk – Positioning marks
- Fabric Pencil – Detailed marking
- Fabric Iron – Heat application
- Outdoor Fabric – Heavy materials
- Canvas Fabric – Sturdy repairs
- Grommet Kit – Hardware reinforcement
- Fabric Bags – Customization projects
- Fabric Ribbon – Decorative accents
- Sewing Machines – Reinforcement stitching
- Harry Potter Fabric – Themed materials
- Black Friday Deals – Seasonal savings
Extend Garment Life with Quality Patches
Fabric iron patches provide practical repair solutions and creative customization opportunities that transform damaged garments into personalized favorites. Understanding proper selection, application techniques, and maintenance practices ensures patches remain securely attached through years of regular use and laundering.
Whether repairing children’s worn jeans, refreshing vintage denim jackets, or creating unique accessories, iron patches deliver accessible results without advanced sewing skills. The combination of heat-activated adhesives and optional reinforcement stitching creates durable attachments that withstand daily wear demands.
Start your patching projects with quality materials, proper heat application tools, and precision cutting equipment to achieve professional repairs that extend clothing life while expressing personal style through thoughtful customization.